Controlled Pollination of Maize
This is a primer on the method of controlled maize pollination used to prevent contamination. Click on the images to see larger versions.
Everyday
 |
1. |
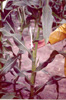
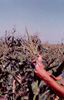
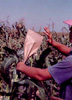
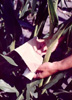
Shootbags are secured on the top ear of the plant to cover the shoot before the silk emerges to prevent pollen contamination. |
 |
2. |
Shootbags must be placed tightly around the ear so the bag will stay on regardless of the elements. |
The Day Before Pollination
 |
3. |
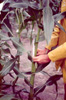
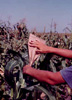
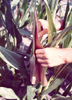
To ensure fresh silk for pollination, ears are cut the day before pollination is to occur. |
 |
4. |
A shootbag is promptly placed over the freshly cut ear to protect it. |
 |
5. |
Workers fold the top of the shootbag away from the ear to indicate which ears will be used for pollination the following day. |
 |
6. |
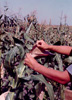
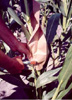
Check the plant's tassels to ensure that the plant will shed enough pollen for the next day. |
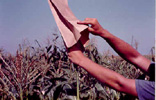 |
7. |
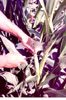
A bag is carefully placed over the plant's tassels. |
 |
8. |
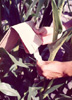
Workers grasp the tassel by holding the bag and making a central ridge for better support. |
 |
9. |
The bag's flaps are then secured with a non-skid paper clip. |
The Day of Pollination
 |
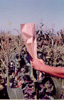
10. |
The bag is tapped five to seven times to release pollen from the tassels. |
 |
11. |
Workers need to be careful so other pollen sources do not get into the bag when they take down the bags. |
 |
12. |
Hold the opening of the bag so it is kept shut. Fold the opening of the bag towards the front side of the bag with crosses records. |
 |
13. |
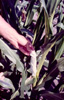
Put the folded half of the bag over the shoot to be pollinated. |
 |
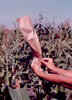
14. |
Pull out the shootbag while covering the shoot with the pollination bag so the silk is never exposed. |
 |
15. |
Straighten the bag and tap slightly so the pollen is introduce to the fresh silk. |
 |
16. |
Staple all four flaps of the bag tightly against the stalk with one staple. |